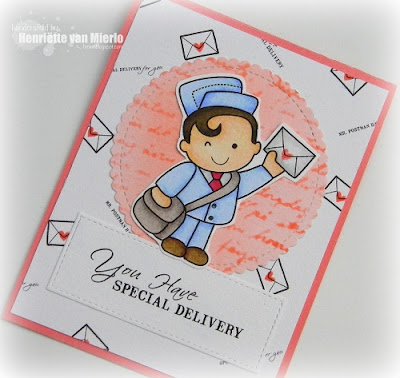
Today I'm not only sharing my card but also a step-by-step instruction on how I've made it.
This is my first time doing a step-by-step instruction, so I hope you'll bear with me.
First I made the circle piece by sponging with Tim Holtz Distress ink (ripe persimmon) and then using a stencil (Pandora) and dye ink (Clearly Kelly) to make it look like a handwriting.
I cut out the circle using a die-namic from My Favorite Things.
The background with the envelopes and words I made in Photoshop. I imported digital images en sentiments from Melania Deasy in Photoshop. I resized and rotated the images.
After I printed out the background I stamped little hearts on the envelopes.
I printed the sentiment and used my cuttlebug and a die-namic to cut it out.
I also printed out a postman image from the Melania Deasy set and colored the image using my spectrum noir markers. I fussy cut the image.
Finally all I had to do was to assemble all the pieces and ...... voila.
I'm entering this card in these challenges:
live laugh stamp: lets color
little miss muffet challenge: anything goes
star stampz: use digi
outlawz challenge: with heart
Thanks so much for stopping by.
Hugs, Henriette.


3 comments
Such fun inking and stamping. Loving the script behind the little delivery guy.
Hugs
Desíre
{Doing Life – my personal blog}
This is sooooo darn cute! After looking at your very well done tutorial, I am even more impressed! Super fun way to do the envelopes with the hearts. I love your cards! Hugz
Such a cute design and darling image!
Thanks so much for sharing!!
xEllie - Let's Color Linky Party and Critters & Creatures Linky Party
Post a Comment